


1. Working Tools
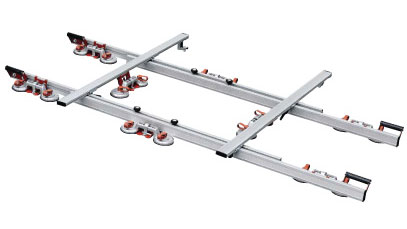
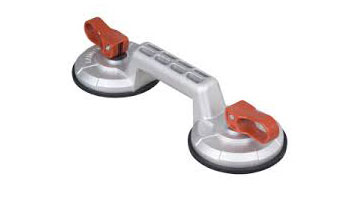
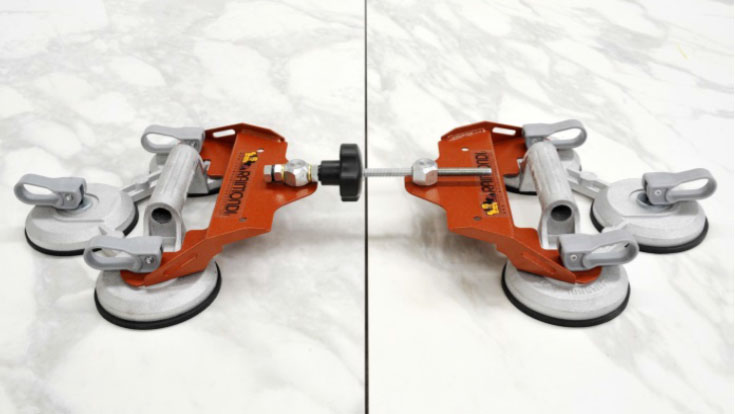
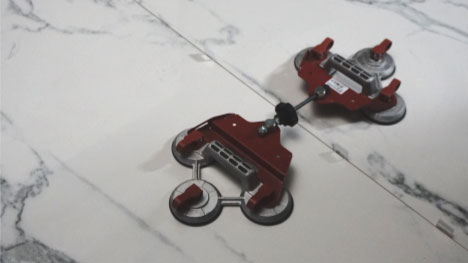
1.1.1 Suction Cup With Frame/ Easy Move with Vacuum
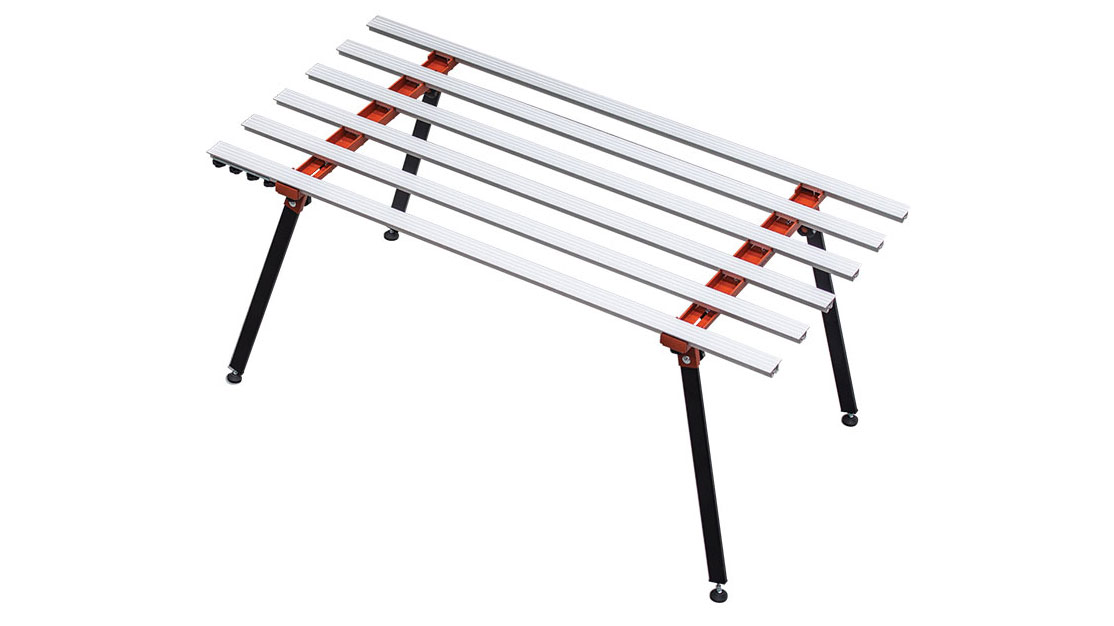
1.1.2 Working Table
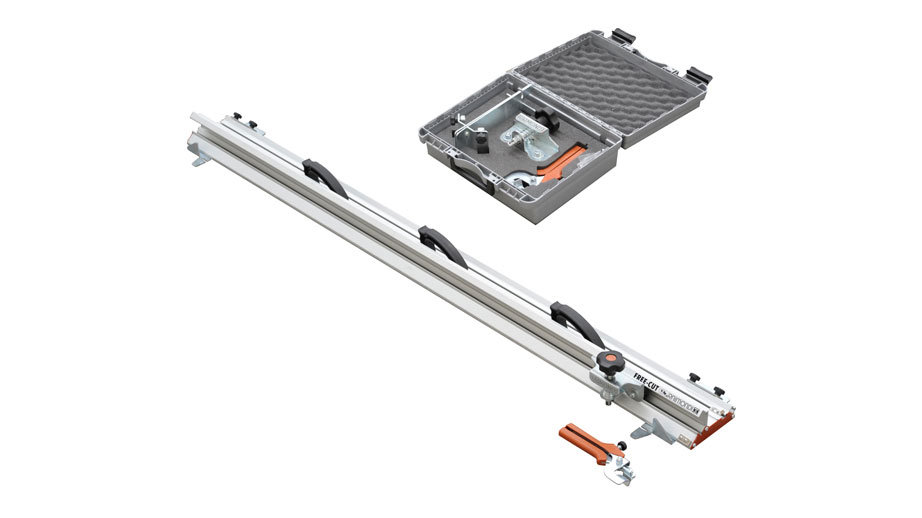
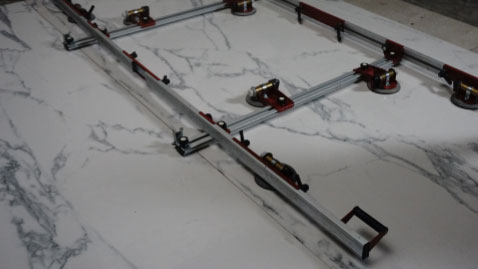
1.1.3 Manual Cutting Tools
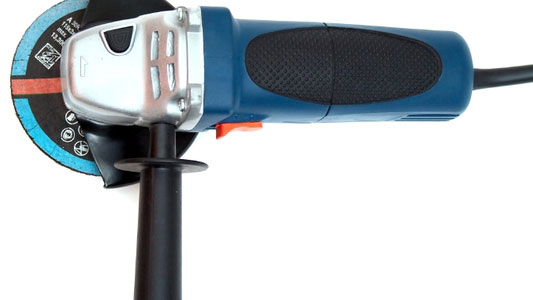
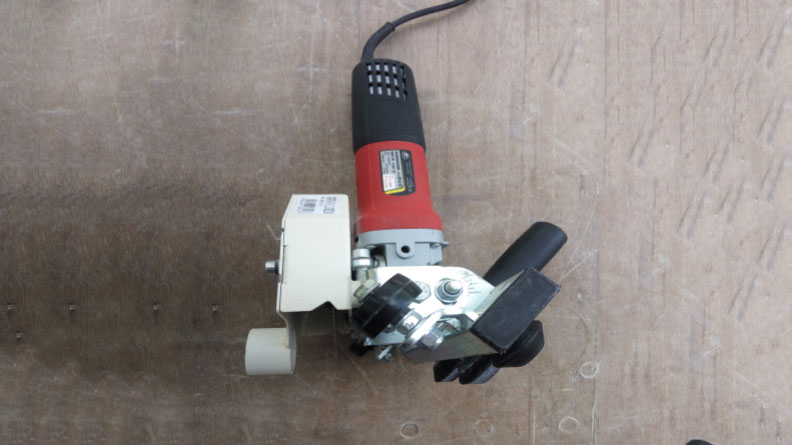
1.1.4 Electric Grinder
1.1.5 Cutting Plier

1.1.6 Drill
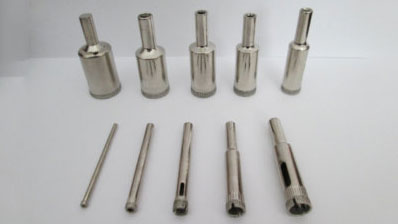
1.1.7 Hole Cutter
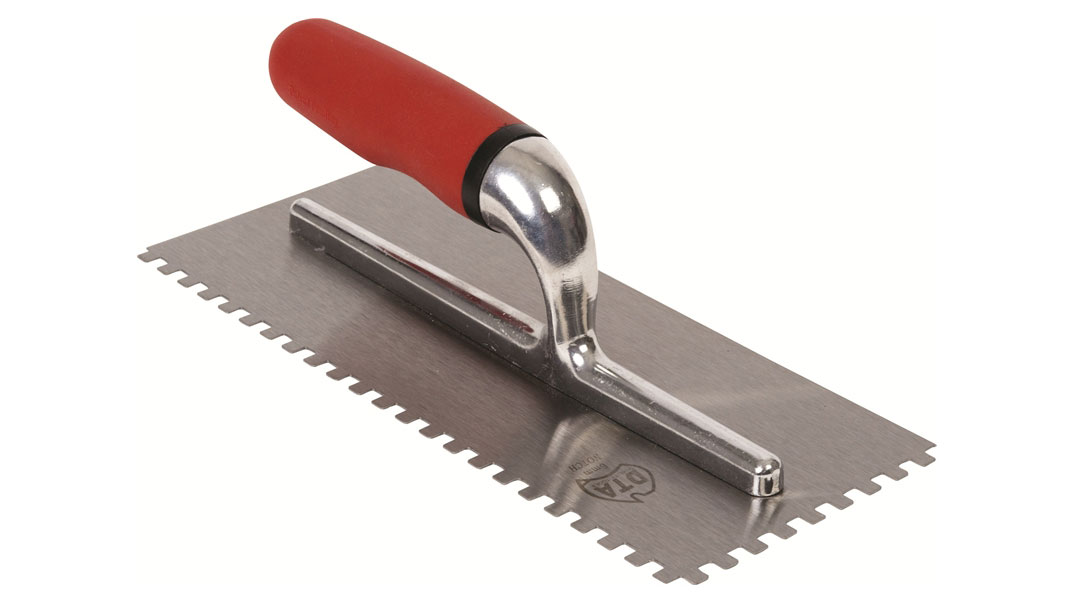
1.1.8 Trowel
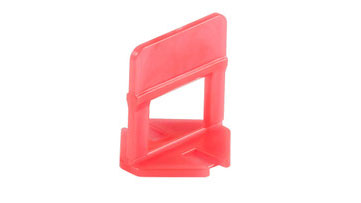
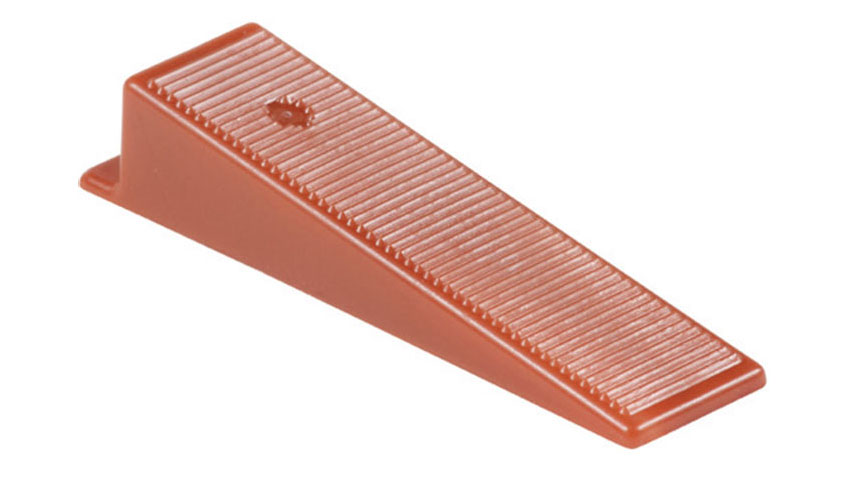
1.1.9 Spacer
1.1.10 Leveling
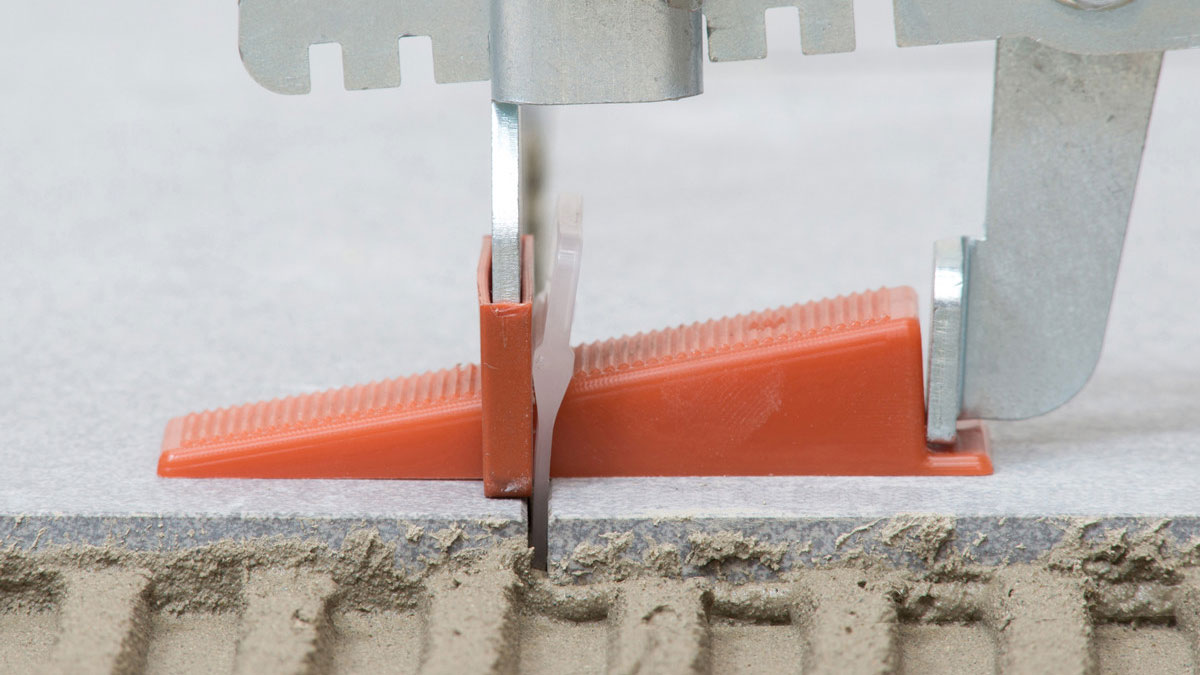
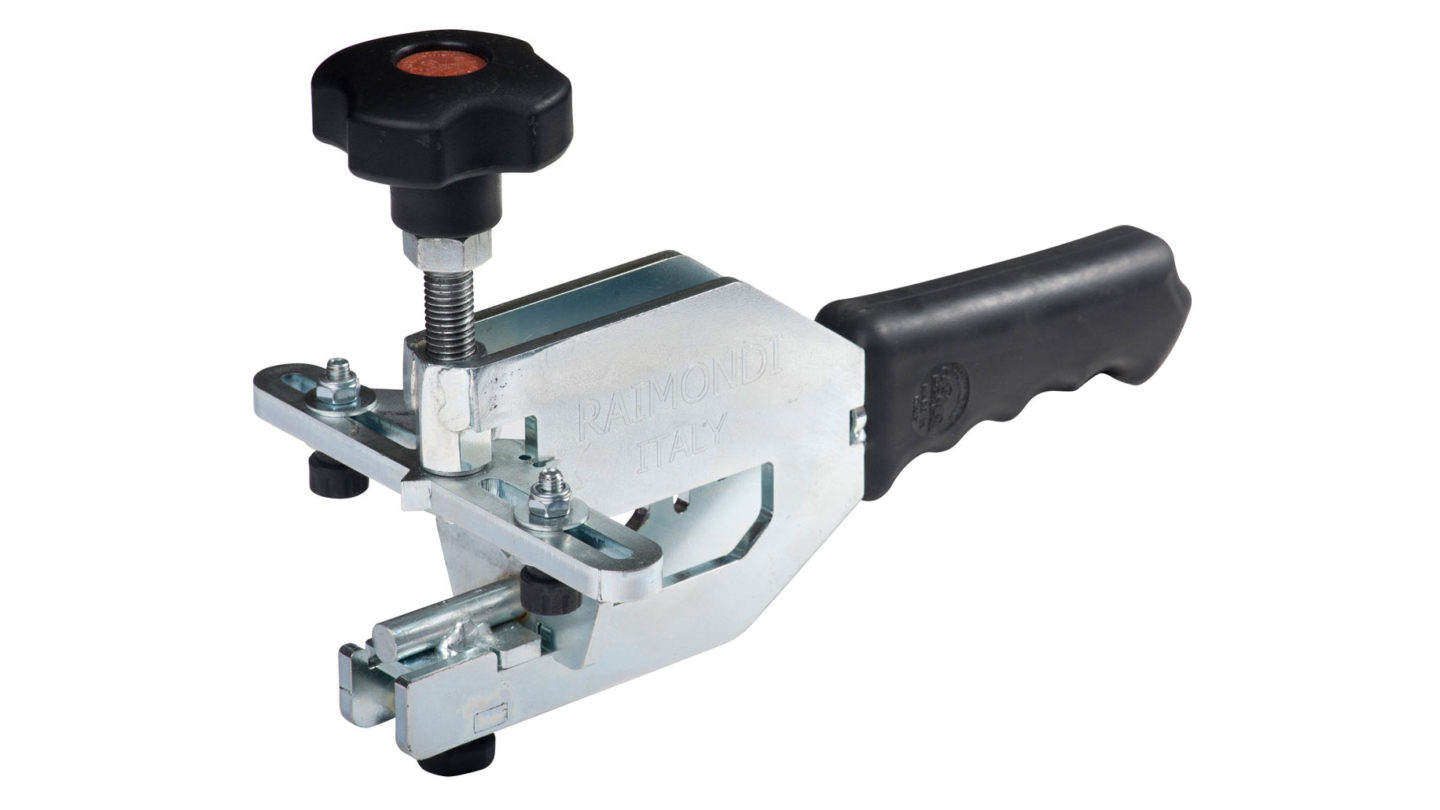
1.1.11 Leveling Plier
1.1.12 Suction Vacuum
1.1.13 Jolly
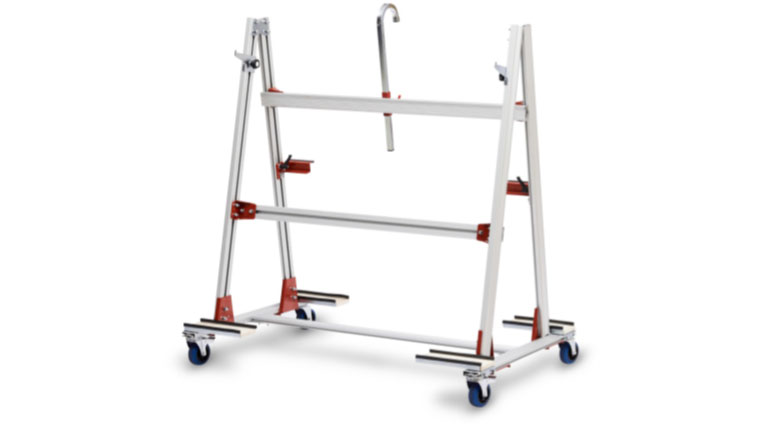
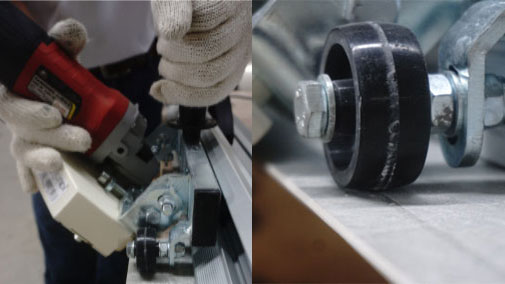
1.1.14 Trolley
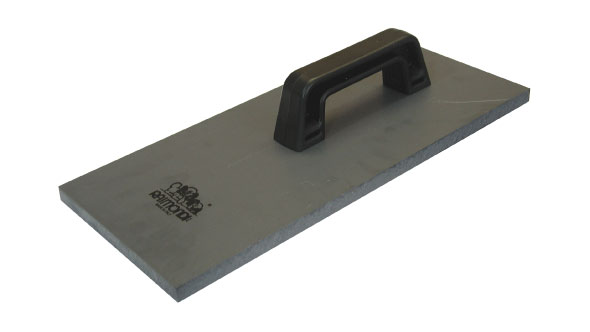
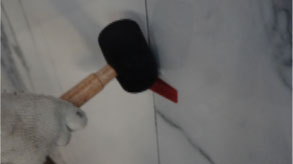
1.1.15 Beater Rubber
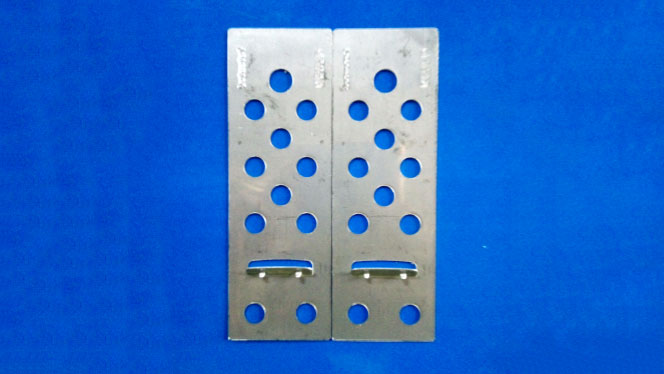
1.1.16 Special Shoes
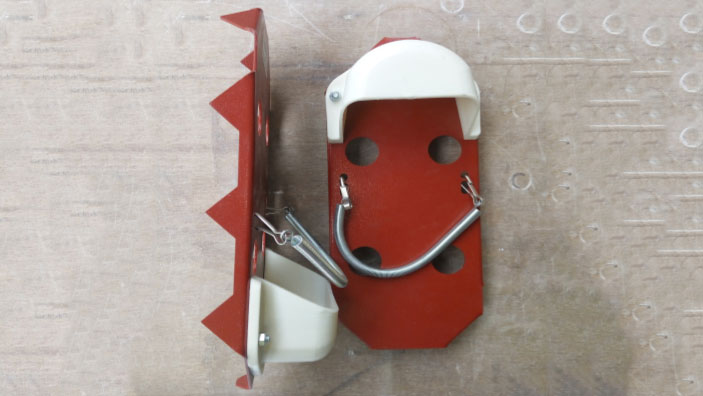
1.1.17 Steel Anchor
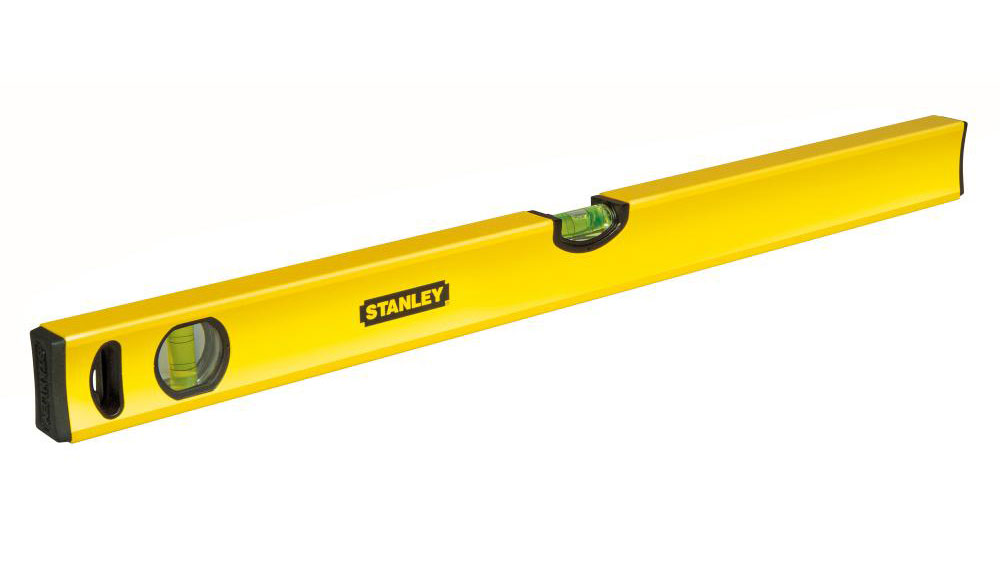
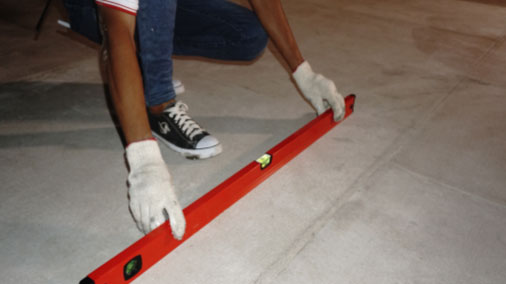
1.1.18 Water Pass
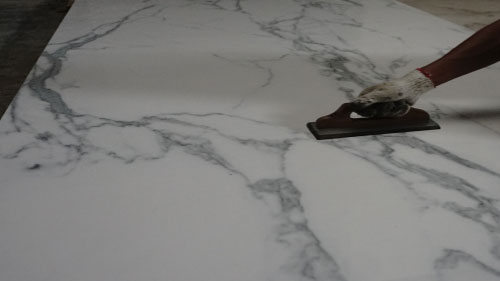
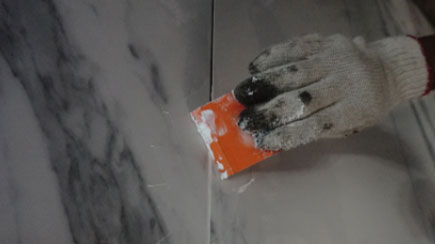
1.1.19 Seam Closer
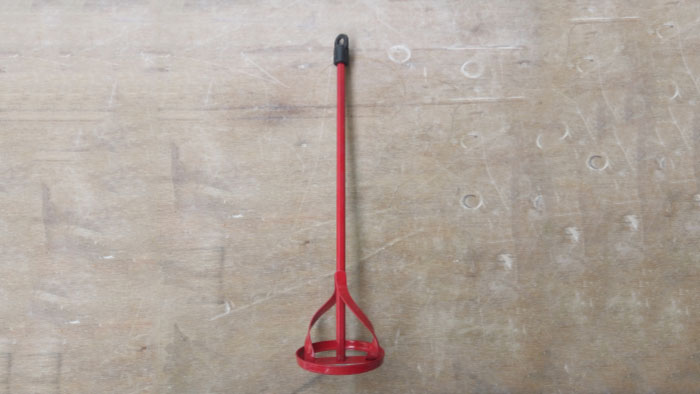
1.1.20 Mixer
2. Storage
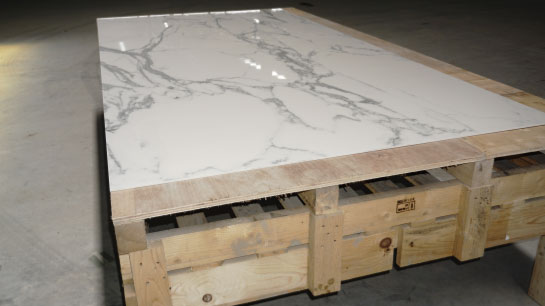
2.1 Wooden Crates
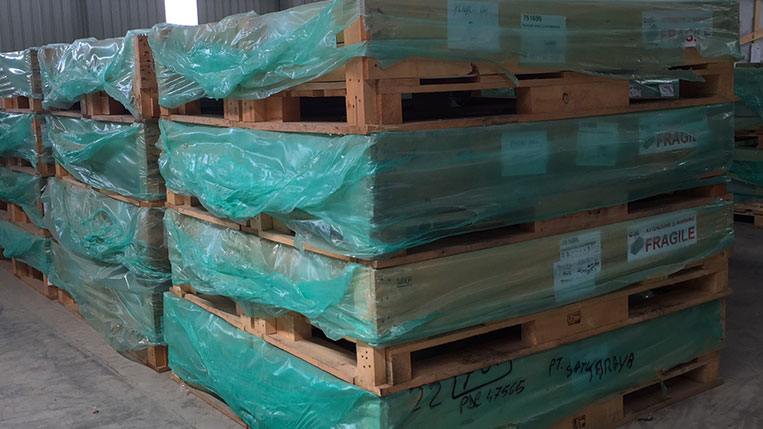
2.1.1 Wooden Crates
This type saves require less space for storage
Size 3200×1600 mm and 1200×2400 mm can be stacked up to 6 crates vertically
Size 1600×1600 mm and 1200×1200 mm can be stacked up to 8 crates vertically
Do not stack crates with different dimensions
2.2 A Frames
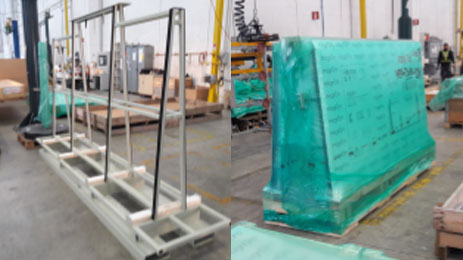
2.2.1 A Frames
Is recommended for slabs of size 3200×1600
This type cannot be stacked vertically
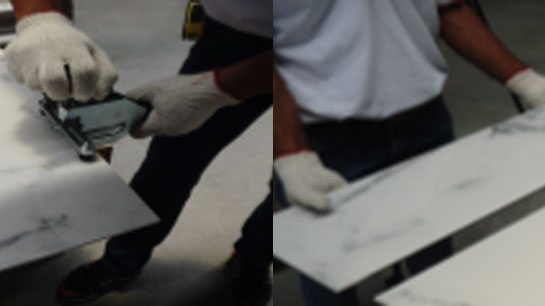
3. Handling
3.1 Handling From Wooden Crate
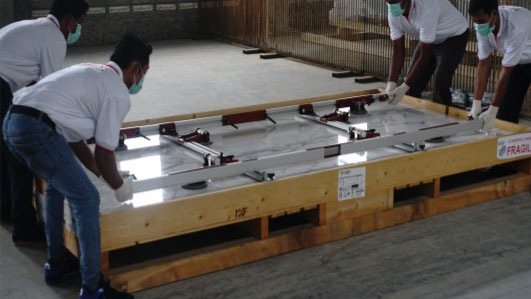
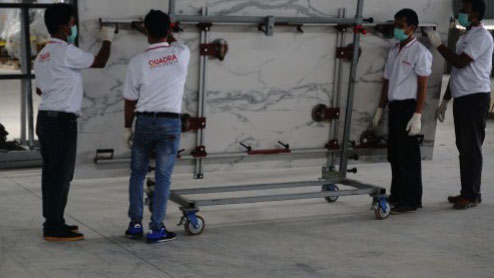
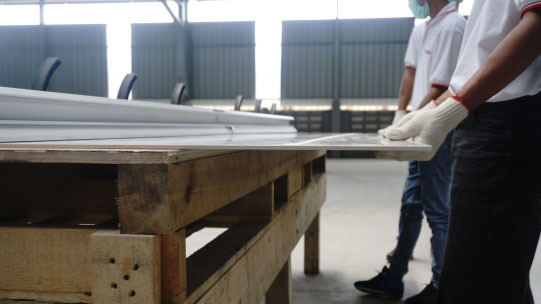
3.1.1 Use proper handling tools (Suction Cup With Frame/ Easy Move with Vacuum) to lift each Quadra slab
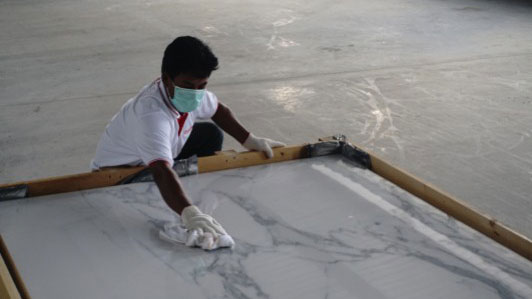
3.1.2 Clean the Quadra surface
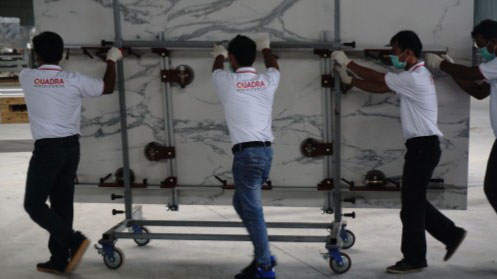
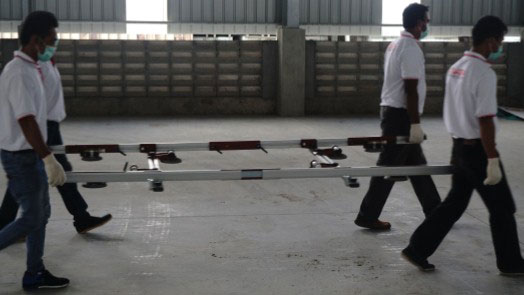
3.1.3 Use trolley to move the slab
3.2 Handling From Truck
3.2.1 Use proper handling tools (Suction Cup With Frame/ Easy Move with Vacuum) to lift each Quadra slab
3.2.2 Use trolley to move the slab
4. Installation
4.1 Wall Installtion
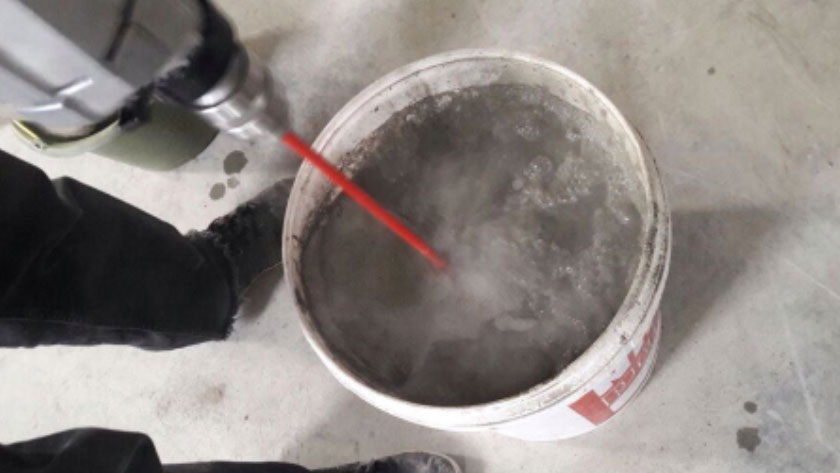
4.1.1 Mixed water and adhesive proportionally and use only adhesive class C2TES1 to get the best result
4.1.2 Make sure the wall and the back of Quadra is clean and flat
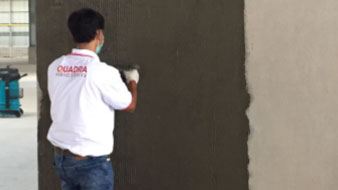
4.1.3 Apply the adhesive on the back of Quadra and on the wall, spread in one direction with adequate tile trowel

4.1.4 Lay Quadra on the wall consecutively
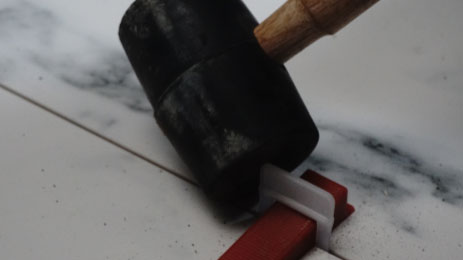
4.1.5 Tap rubber to compact the adhesive layer
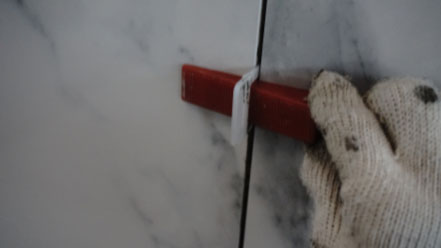
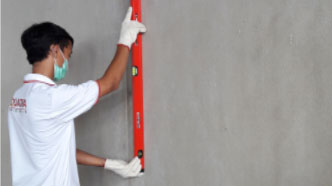
4.1.6 Put leveler at each linear meter

4.1.7 Use seam closer to adjust the gap of Quadra slabs
4.1.8 Wait up to 24 hours before removing the leveller
4.1.9 Apply the grout onto the wall
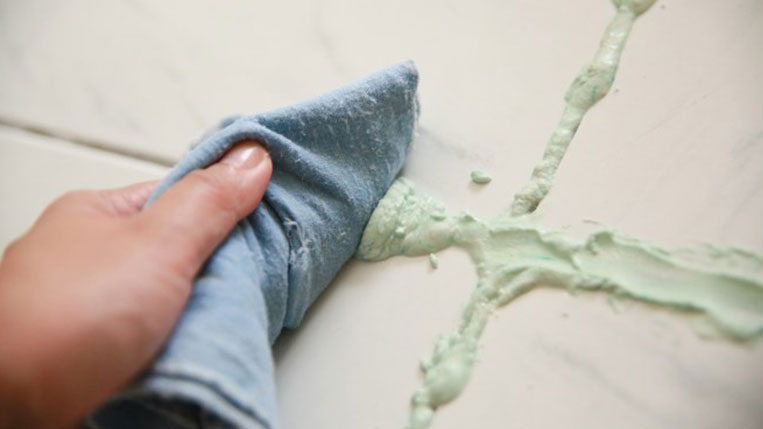
4.1.10 Clean the grout waste
4.2 Floor Installation
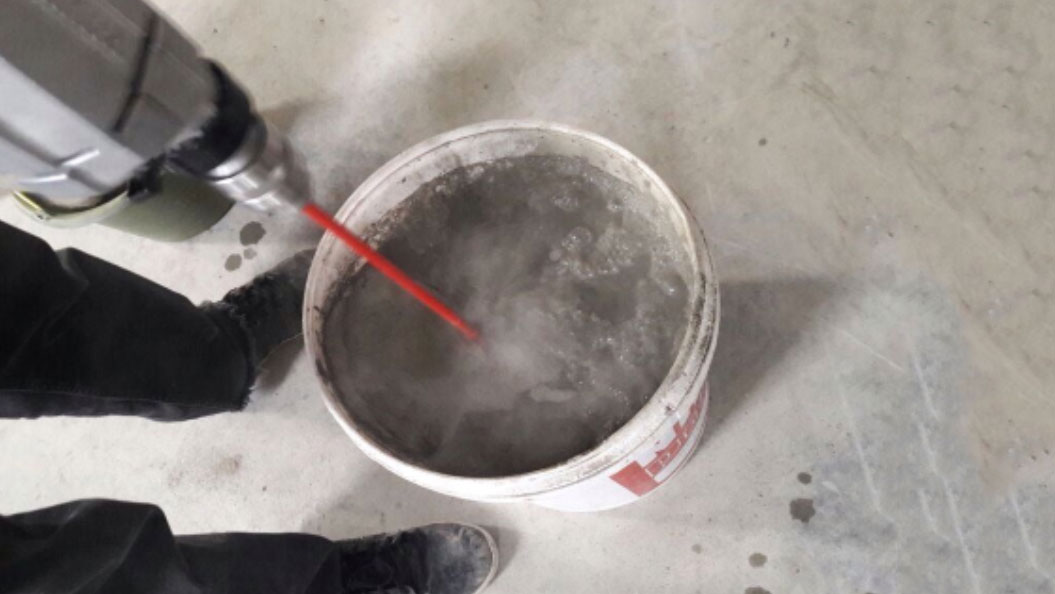
4.2.1 Mixed water and adhesive proportionally and use only adhesive class C2TES1 to get the best result
4.2.2 Make sure the wall and the back of Quadra is clean and flat

4.2.3 Apply the adhesive on the back of Quadra and on the wall, spread in one direction with adequate tile trowel
4.2.4 Lay Quadra on the adhesive bed
4.2.5 Tap rubber to compact the adhesive layer

4.2.6 Put leveler at each linear meter of Quadra
4.2.7 Use seam closer to adjust the gap of Quadra slabs
4.2.8 Wait up to 24 hours before removing the leveller

4.2.9 Apply the grout onto the floor
4.2.10 Clean the grout waste and cover the slab area with plastic as protection during construction
5. Cutting
5.1 Manual Cutting

5.1.1 Lay the slab on a stable flat and firm surface
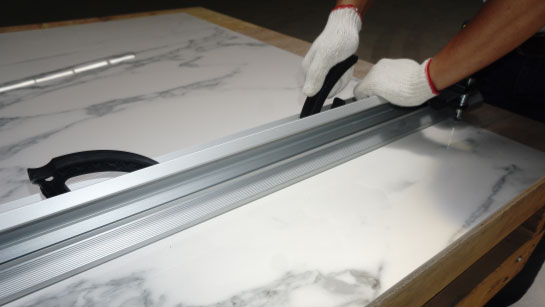
5.1.2 Mark the cut area and lock the guard rail to its place
5.1.3 Make sure the wheel is positioned to its place. Press and slide the cutter
5.1.4 Move the incision line 10cm out of the workbench
5.1.5 Apply the pliers to split the cuts adn apply enough and even pressure to split the cuts completely
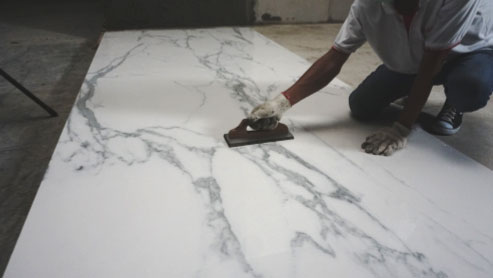
5.1.6 Rub the cuts with abrasive block to smoothen the rough edge
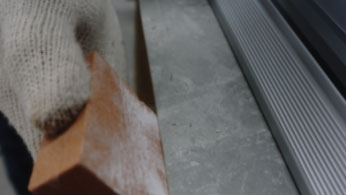
5.2 Square Cutting
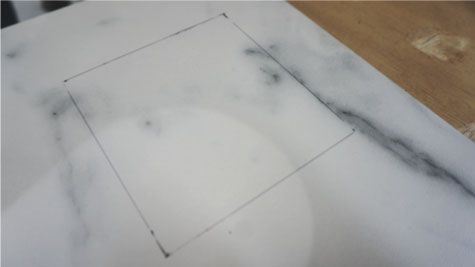
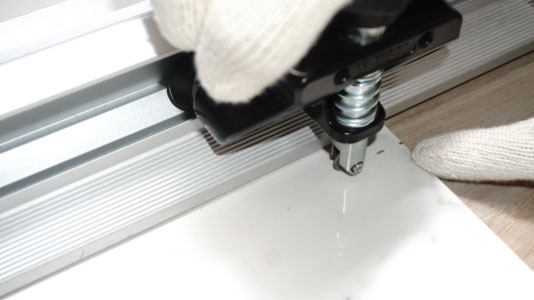
5.2.1 Mark the cut area with pen
5.2.2 Create 4 holes at all corners using drill
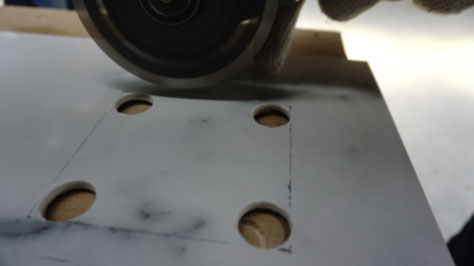
5.2.3 Connect the holes along the marked line with the cutter
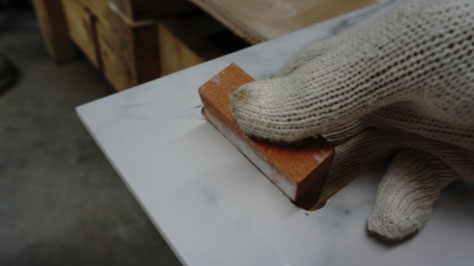
5.2.4 Rub the cuts with abrasive block to smoothen the rough edge
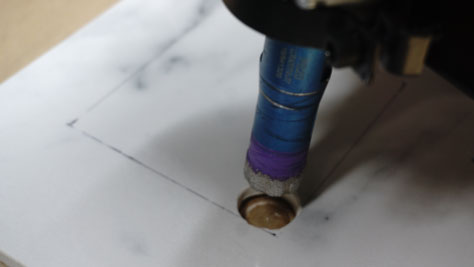
5.3 Round Cutting
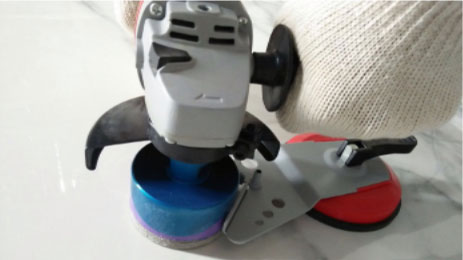
5.3.1 Put on an adequate hole cutter size
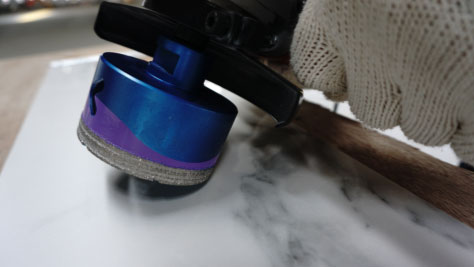
5.3.2 Apply pressure on the circular drill gently
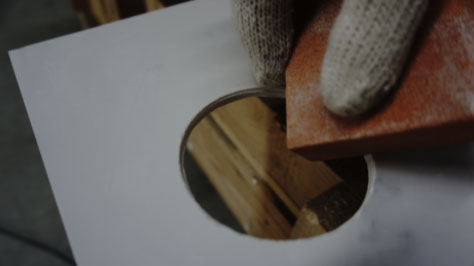
5.3.3 Rub the cuts with abrasive block to smoothen the rough edge
5.4 Jolly Cutting
5.4.1 Lay the slab on a stable flat and firm surface
5.4.2 Use a special tool for jolly cutting with angle of 35˚-55˚ and cut it slowly with a constant speed

5.4.3 Rub the cuts with abrasive block to smoothen the rough edge